
Replacing caster wheels looks simple, but taking them apart is full of pitfalls: bolts rusted solid and won’t turn, parts scattered halfway through, and hole spacing that doesn’t match when installing the new wheel. With the right removal steps and tool preparation, a wheel swap can be done in ten minutes.
Do Three Things Before Starting
Without checking first, you can easily get stuck halfway through. First take photos to record the old wheel’s mounting method, hole spacing, and part positions — you can refer to them when installing the new wheel. Unload cargo from the cart and jack up or stabilize the equipment — safety comes first, never operate while equipment is under load. Prepare new wheels, bolts, shims, and lubricant in advance to avoid searching for things halfway through disassembly.
Tool List
Disassembling and assembling casters does not require professional equipment — a set of basic tools is sufficient:
- Open-end or combination wrench, selected by bolt specification; socket wrenches are more labor-saving in space-constrained situations.
- One flathead and one Phillips screwdriver each, for removing cover plates and fasteners.
- Penetrating rust remover, sprayed on rusted bolts and left to work for a few minutes before turning.
- Safety blocks or a jack, for lifting equipment and stabilizing the cart body.
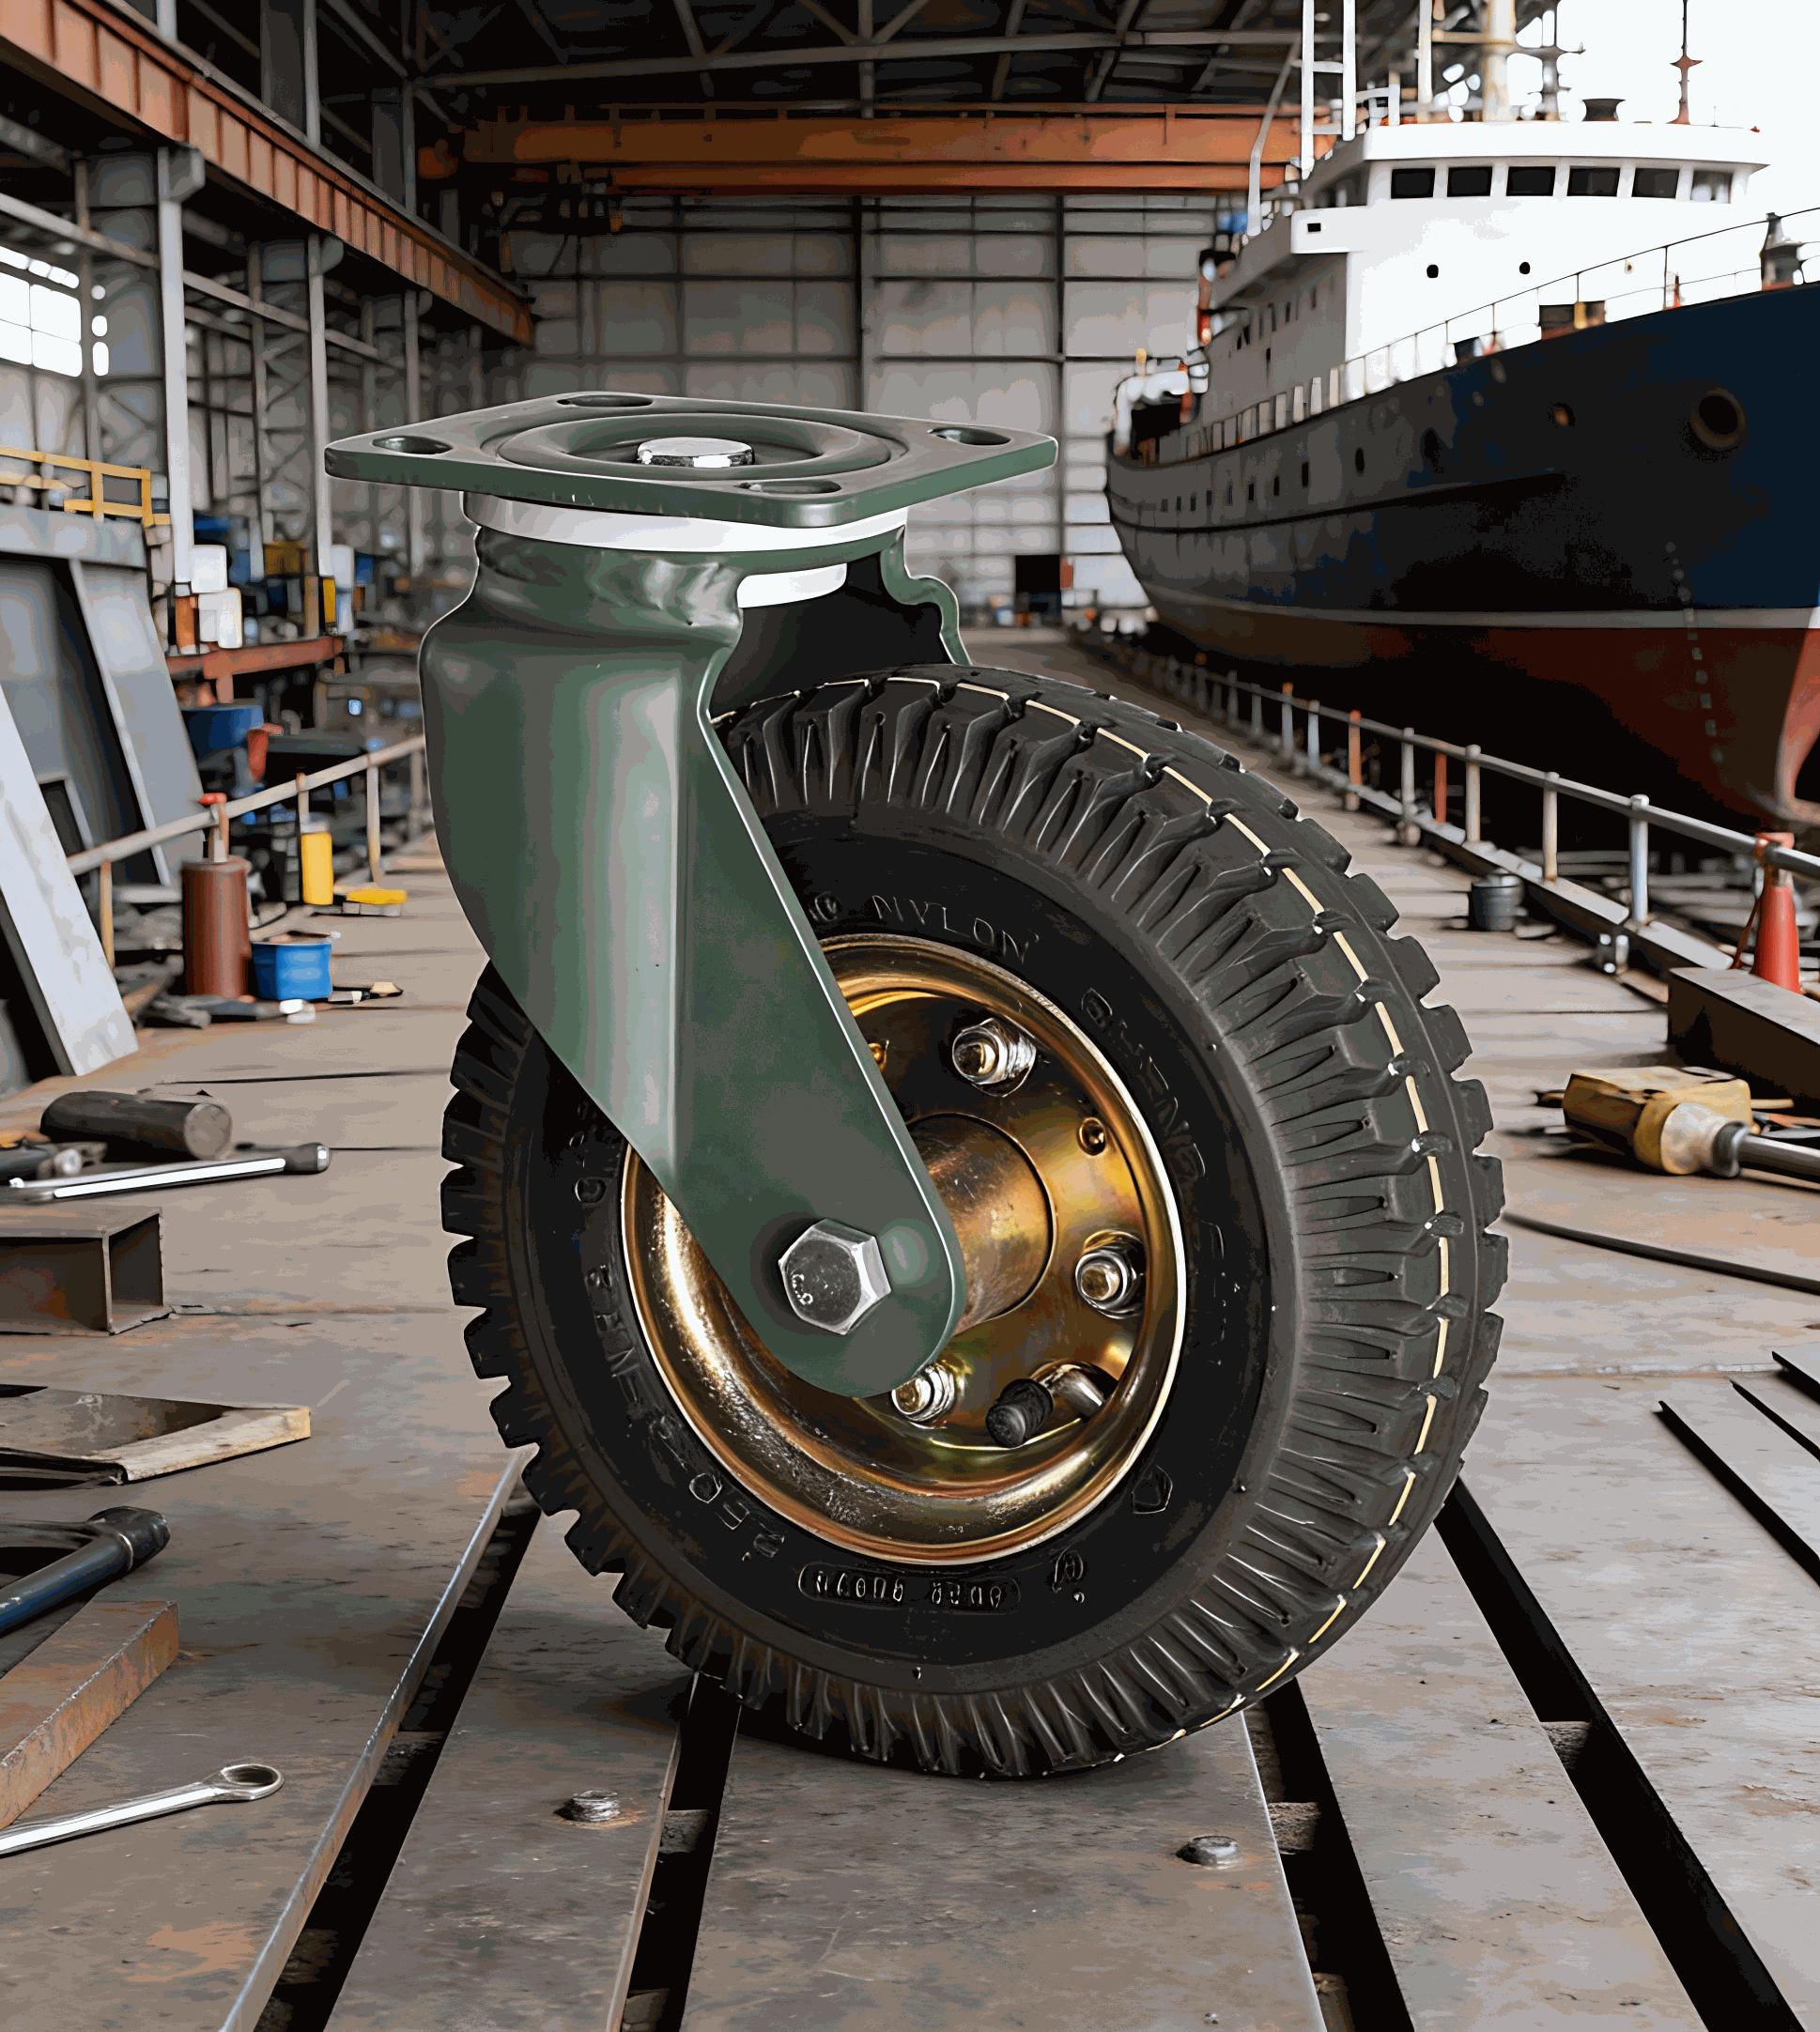
Removal Steps
Follow the order to avoid damaging tools or wheels.
Loosen the fixing bolts. For rusted bolts, first treat with rust remover, wait a few minutes for it to penetrate, then use a wrench to loosen counterclockwise. Don’t force it from the start — if a bolt breaks off inside the mounting surface, handling it afterward is even more troublesome. Remove the old wheel, taking care not to let shims and nuts scatter and get lost. Keep the position and orientation of shims consistent with when they were removed — this saves time when installing the new wheel. Clean the mounting position: rust, old shim residue, and debris on the mounting base must be cleaned thoroughly, otherwise the new wheel will not sit flat.
Check Hole Spacing Before Installing
Before installing the new wheel, first align it with the mounting holes — if the hole spacing doesn’t match, don’t force it. Wheels with mismatched hole spacing, installed under uneven force, will develop problems before long. Square mounting plates use standard four-bolt patterns, but spacing varies by wheel size and manufacturer, so measure twice and buy once.
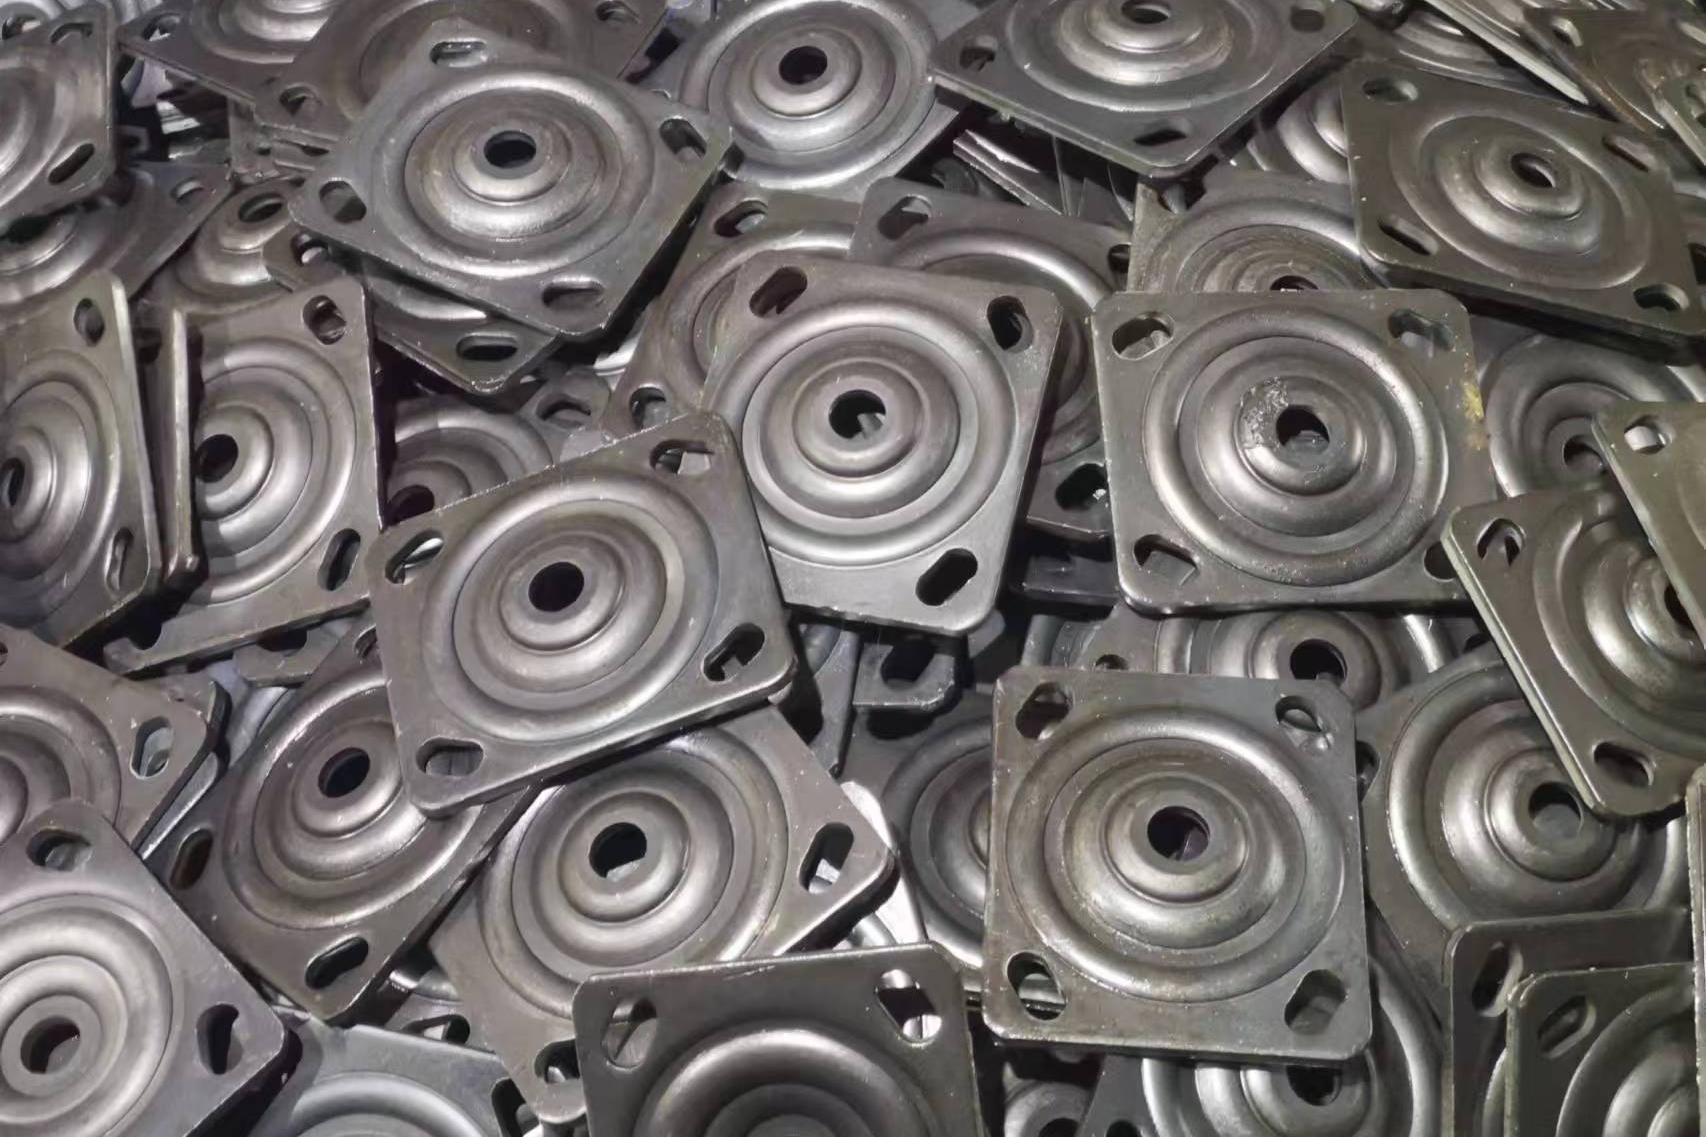
Tips for Rusted Bolts
Rusted bolts are the most common hurdle when replacing wheels. First spray penetrating rust remover on the threads, wait ten minutes, then turn — most cases are resolved this way. If rust remover is ineffective, use a heat gun or welding torch to heat the nut — thermal expansion and contraction make it easier to loosen. Tap the wrench handle lightly with a hammer — vibration combined with rotation loosens the rust layer. If it really won’t budge, cut off the bolt and replace it — better than forcing it and ruining the threads.
Checks After Installation
Don’t rush to push the cart away after installing the new wheel — first check several items. All fixing bolts must be tightened properly, checking the fastening of all four wheels one by one. Turn the wheel by hand to see if it rolls smoothly, whether steering is flexible, and whether there is any seizure. Confirm that the mounting heights of all four wheels are consistent and the equipment sits level. For wheels with brakes, press the brake all the way down and test once to confirm the locking function works normally.
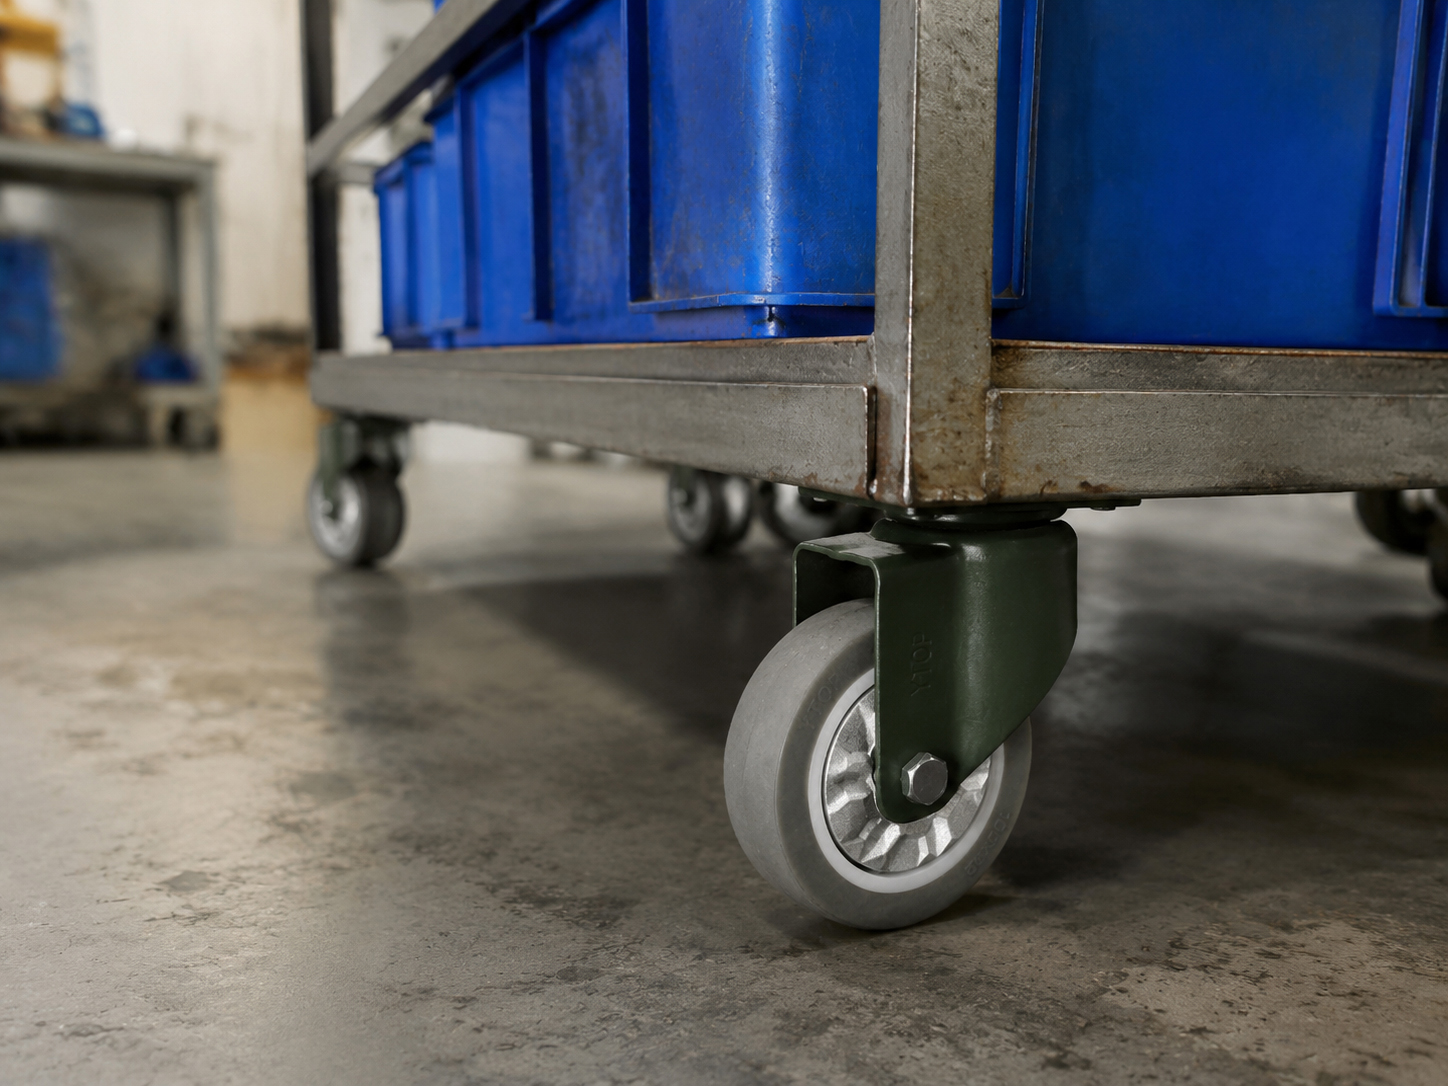
Measuring hole spacing accurately and buying the right model before wheel replacement saves half the trouble. Zhuoye manganese steel casters come with installation instructions at the factory, including hole spacing specifications and disassembly/assembly key points. Checking the model and hole spacing against the instructions before replacement avoids discovering a mismatch only on site.
Related Reading
Planning a caster swap or rebuild? Explore these related articles:
- How to Measure Hand Truck Caster Mounting Dimensions? — get top-plate hole spacing right before you order replacements.
- When Should Worn Casters Be Replaced? — scrap standards that tell you when a repair is no longer enough.
Explore our complete range of heavy-duty casters (150-610kg) with matching mounting plates, or contact our engineering team for replacement parts and hole-spacing guidance.
Post time: Nov-02-2026